
Chimney
Crown and Flashing RepairDemolition + Replacing Chimney Crown
Demolishing a chimney crown involves several steps to safely and effectively remove the uppermost portion of a chimney. The chimney crown is the top layer that protects the masonry from weather elements.
Demolition + Replacing Chimney Crown
Demolishing a chimney crown involves several steps to safely and effectively remove the uppermost portion of a chimney. The chimney crown is the top layer that protects the masonry from weather elements.
Read More
Safety Precautions:
Before starting any demolition work, ensure that safety measures are in place. This includes wearing appropriate personal protective equipment (PPE) such as safety glasses, gloves, and a dust mask.
Assessment:
Clear the Area:
Remove any obstacles or debris around the base of the chimney to create a clear and safe work zone. This includes protecting nearby structures and landscaping from falling debris.
Chimney Inspection:
Ascend to the top of the chimney to inspect the crown up close. Determine the construction materials used and assess the overall condition. Note any metal components, such as a chimney cap, that may need separate removal.
Removal of Cap and Flashing:
If applicable, remove the chimney cap and flashing. These are protective elements that may be present on the chimney crown.
Breaking the Crown:
Use appropriate tools, such as a sledgehammer or a masonry chisel, to break apart the chimney crown systematically. Start from the outer edges and work toward the center. Take care to avoid damaging the underlying masonry or structure.
Disposal of Debris:
As the crown is demolished, safely lower the debris to the ground. Use a debris chute or a bucket system if working at a considerable height. Dispose of the debris in accordance with local regulations.
Final Inspection:
After the crown is removed, inspect the remaining chimney structure to ensure stability and safety. Address any additional structural concerns or make necessary repairs.
Cleanup:
Thoroughly clean the work area, removing any remaining debris and restoring the surroundings to their original condition.
Post-Demolition Assessment:
Conduct a final assessment of the chimney to confirm that the demolition was successful and that the structure is safe. If needed, plan for any follow-up repairs or modifications.

")
")
")
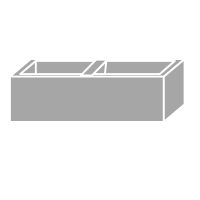
Concrete Crown Curing
Prior to installing the new concrete crown
We check for damage on the interior of the chimney
We form and match the shape of the concrete crown to match the chimney
Rebar is installed inside the concrete crown
We use special product to enable the concrete to dry in cold or wet weather
Repairing Chimney Crown
Repairing Chimney Crown
Assessment
Inspect the chimney crown to identify the extent of the damage. Look for cracks, gaps, or deteriorated areas that need attention.
Clean the Surface
Remove any debris, dirt, or loose mortar from the chimney crown. A wire brush or similar tool can be used to clean the surface thoroughly.
Repair Cracks
Fill any cracks or gaps in the chimney crown with an appropriate masonry repair caulk or sealant. Ensure that the product is designed for chimney use and can withstand temperature variations.
Read More
Patch Holes
If there are holes in the chimney crown, use a high-quality chimney crown repair mortar to patch them. Follow the manufacturer’s instructions for mixing and applying the mortar.
Leveling the Surface
If the chimney crown has an uneven surface, use the repair mortar to level it. Ensure that the crown slopes away from the flue to prevent water pooling.
Add a Bonding Agent
Apply a bonding agent or primer to the clean and prepared surface. This helps the new mortar adhere securely to the existing crown.
Apply a Waterproof Sealant
Once the repair mortar has cured, apply a waterproof sealant specifically designed for masonry surfaces. This helps protect the chimney crown from water penetration and freeze-thaw damage.
Install a Chimney Cap
Consider installing or replacing a chimney cap if it’s missing or damaged. A chimney cap provides additional protection against water, debris, and animals.
Cure and Dry
Allow the repair mortar and sealant to cure and dry thoroughly according to the manufacturer’s instructions. This usually takes several days, during which it’s important to protect the chimney crown from exposure to rain.
Inspect and Maintain
Periodically inspect the chimney crown for signs of wear or damage. Perform regular maintenance to ensure its continued effectiveness in protecting the chimney structure.
")
")
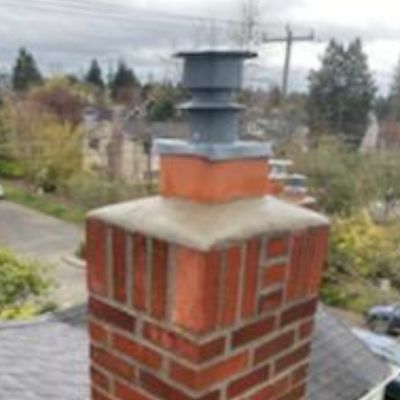
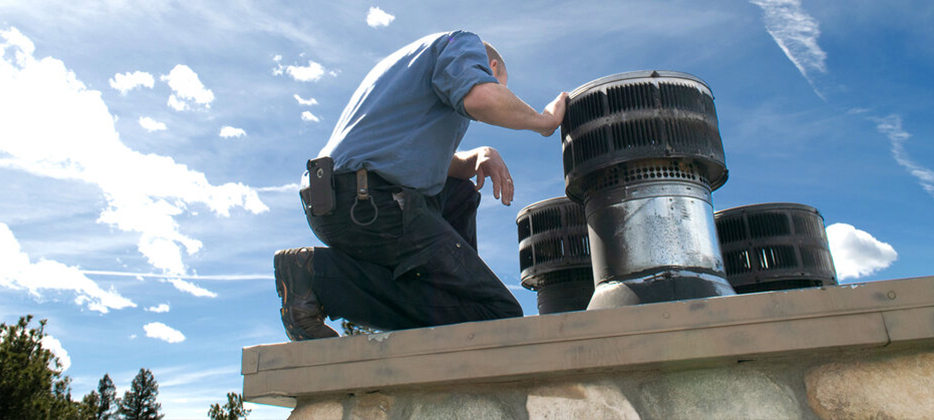
Flashing Repair
Often times Roofers in properly install flashing around the chimney-this is because chimney flashing is installed differently and the flashing used must be made of specific material. Roofers often times do not have this knowledge because they are not experts in chimney repair or building .
This chimney in this photo is missing the counter flashing
")
")
")
")
")
")
Before
After
Review Chimney Flashing
Check installation
Make sure all the required flashing components and pieces are presently installed
Materials
Make sure correct type of flashing and flashing material type is correct
Quality Control
Check for quality of installation
Is the flashing imbedded in the mortar or brick?
Chimney Flashing Overview
What to Look For

Flashing can be custom cut to fit on any chimney or in any area no matter length or width

")
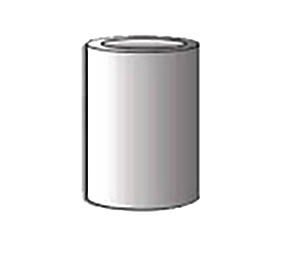
Materials
Chimney flashings typically are made of one of the following*:
1. Galvenized Steel
2. Galvalume
3. Lead
4. Copper
4. Lead Coated Copper
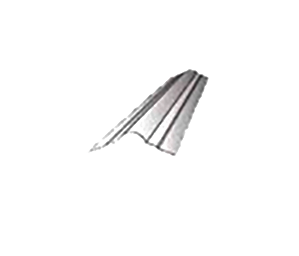
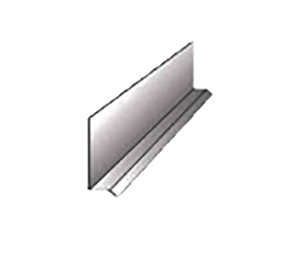
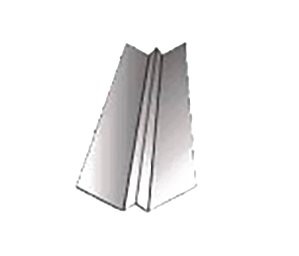
Flashing Types
Step Flashing
Eve Drip
- A horizontal strip installed along the edge of a roof eave.
- Material: Typically made of metal or plastic.
- Primary Function: Directs water away from the roof edge to prevent seepage into the underlying structure or fascia board.
Roof Edge
Tin Tabs
Ridge Roll
Water Diverter
- A device used to redirect water runoff from a roof.
- Purpose: Prevents water from pooling in vulnerable areas or causing structural damage.
- Installation: Typically installed along the roofline or in gutters.
- Function: Redirects water away from specific areas or towards desired locations for proper drainage or collection.
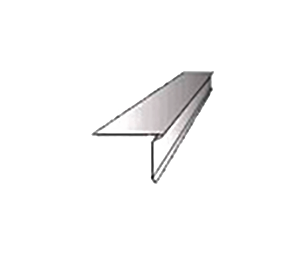
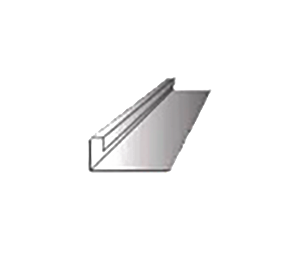
Z-Flashing
- A type of metal flashing used in construction.
- Shape: Named for its distinctive “Z” shape when viewed from the side.
- Purpose: Prevents water infiltration and provides a waterproof barrier.
- Common Use: Installed in areas where horizontal and vertical surfaces intersect to enhance weatherproofing.
Window Flashing
- A critical construction component that prevents water infiltration and air leakage around windows.
- Material: Typically made of durable, waterproof materials such as metal, plastic, or specialized flashing tape.
- Primary Function: Directs water away from vulnerable areas like the window frame and surrounding walls.
- Purpose: Provides a watertight seal to protect against moisture damage and enhance the longevity of building structures.
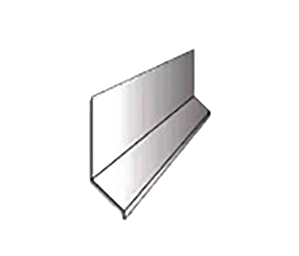
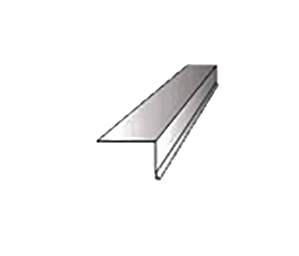
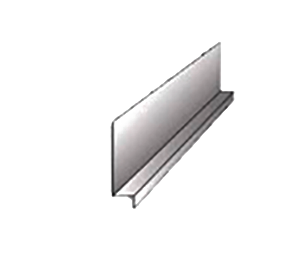
Apron/Dormer Flashing
- A type of flashing used in roofing construction.
- Material: Typically made of metal, such as galvanized steel, aluminum, or copper.
- Purpose: Provides a watertight seal at the intersection between a sloped roof and a vertical wall, like a dormer or chimney.
- Function: Installed to direct water away from the vulnerable joint and prevent water infiltration.
Tile Hip and Ridge
- Specialized components used in tile roofing systems.
- Purpose: Installed along the hip and ridge lines of a roof.
- Function: Provides a finished appearance, enhances weather resistance, and protects against water infiltration.
- Usage: Essential for completing tile roofs and ensuring durable, watertight seals at the roof’s highest points.
V Formed Valley
- A roofing feature where two sections of a sloped roof meet at an inward angle, forming a V-shaped channel.
- Purpose: Helps direct rainwater and snowmelt away from the roof surface.
- Importance: Critical for preventing water from pooling and causing leaks in roofing systems.
- Function: Ensures effective water drainage, particularly in areas prone to heavy rain or snow.
Preformed Valley
- A roofing component designed to simplify the installation of valleys in roofing systems.
- Material: Typically made of metal, such as galvanized steel or aluminum.
- Features: Pre-bent or pre-shaped to fit the specific slope and angle of the roof.
- Advantage: Streamlines the installation process and ensures consistent quality and performance in directing water flow away from critical areas.
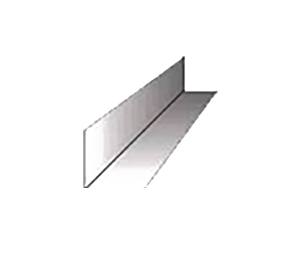
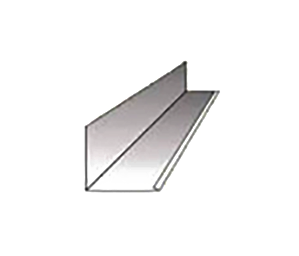
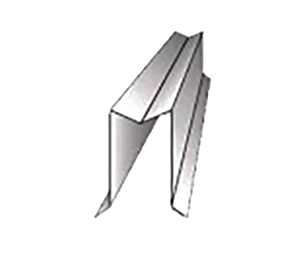
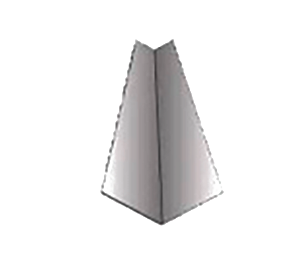
Angle Flashing
- A type of flashing used to provide a waterproof seal at the intersection of two perpendicular surfaces.
- Material: Typically made of metal, such as galvanized steel, aluminum, or copper.
- Shape: Designed in an “L” shape to perfectly fit the angle of the corner where it is applied.
- Function: Critical for preventing water infiltration where roofs meet walls or at the corners of walls, enhancing the building’s overall weather resistance.
Roll Valley
- A roofing component used in constructing valleys on sloped roofs.
- Material: Typically made of metal, such as galvanized steel or aluminum.
- Form: Available in rolls of varying lengths and widths to fit different roof configurations.
- Purpose: Provides a continuous, seamless material in valley areas, enhancing water runoff and preventing leaks.
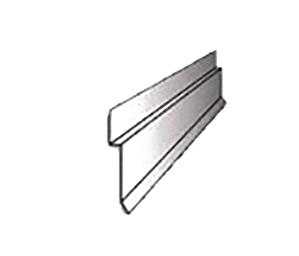
Stucco Flashing
- A type of flashing used at the base of exterior stucco walls.
- Material: Typically made of galvanized metal, vinyl, or other corrosion-resistant materials.
- Installation: Installed along the bottom edge of the stucco wall where it meets the foundation or other horizontal surfaces.
- Function: Provides a waterproof barrier and drainage system to prevent moisture accumulation and facilitate proper water runoff, protecting the building structure.
")
The step flashings typically are 3 inches wide, 3 inches tall (some recommend wider and taller, as much as 6 inches in each dimension) and about 9 inches long.
We Install All Flashing Sizes
Standard | Custom
Length (in Feet)
5, 10, 15, 20+ feet
Custom Paint Finish
Corrosion | Weather Resistant
Wind Rating
Class F (Highest Rating)
Fire Rating
Class A (Highest Rating)
Hail Rating
Class 3
Roof Pitch
>=2:12
Rust Resistant
Paint Options

Jet Black

Desert Brown
Prevent Corrosion
Flashing can be damaged by corrosion. Coating with paint can prevent the kind of damage seen below.

")
")
Replacing Flashing
There is a chance the masonry behind chimney flashing may be damaged
Before Installing New Flashing
Repair + Replacement
Is Absolutely Necessary

What It Looks Like After Flashing Is Removed
")
")
 (1)")
")
")
")
")
Damaged Masonry May Be Uncovered or Exist Behind Damaged Flashing
Caulking
In many cases, the tops are not set properly into mortar joints. You should consider any caulked joint at the top of the cap flashing, or a joint that employs asphalt cement, as a temporary situation.
")
Common Problems We Find
- Rust*
- Damage (including loose flashings or flashings that are opened at the top)
- Installation-related problems
*Rust is caused by age, failure to maintain painting, incompatible materials such as aluminum flashings on masonry chimneys, or steel nails used on copper flashings, tarring over metal flashings.
")
Flashings not embedded into concrete require continual maintenance
FAQs
What is chimney flashing and why is it important?
Chimney flashing is a protective barrier made of metal that prevents water from seeping into the intersection between your chimney and the roof. It’s crucial because it helps maintain the integrity of your roof and chimney, preventing leaks and water damage.
What are the signs of a damaged chimney crown?
Cracks, chips, or a deteriorating surface on the chimney crown are signs of damage. A damaged crown can lead to water infiltration, which can accelerate chimney deterioration.
Can a damaged chimney crown be repaired, or does it need to be replaced?
Depending on the extent of the damage, chimney crowns can often be repaired by sealing cracks and applying a waterproof coating. In severe cases, replacement may be necessary.
Shop Masonry Services

Fireplaces
Materials
Chimneys

Walls

Cleaning
Latest Articles
How Often Does a Gas Fireplace Chimney Need to Be Cleaned?
A gas fireplace chimney needs to be cleaned at least once a year. Annual cleaning prevents carbon monoxide leaks, ensures proper ventilation, improves efficiency, and identifies potential issues like blockages or corrosion,...

How Much Does It Cost to Finish a Basement Project?
Finishing a basement project typically costs between $7,000 and $23,000, depending on size, materials, and labor. High-end projects can exceed $35,000. How Much Does It Cost to Finish a Basement? The cost of finishing a basement...
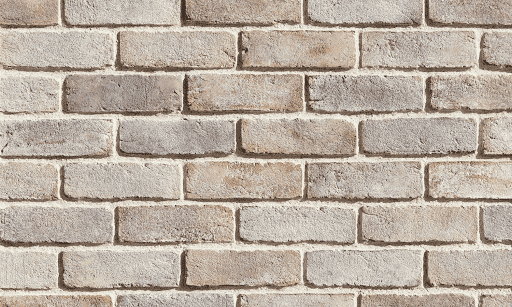
Which Brick is Right for Your Project?
Bricks are one of the oldest and most versatile building materials, used in construction for centuries. They come in various types, each with its unique properties and uses. Whether you're building a new home, renovating, or working on a landscape project, choosing...
")
The Washington State
Masonry Company
License No. BRICKBD809Q4
Same day or same week estimates and completions
5 year warranty on all workmanship
Based out of Federal Way, WA
Call Us At: 206-437-6582

")
")